In this post I wanted to run through configuring and using Active Backup for Business on your Synology NAS. The software is free to use and supports Windows Physical Server, Windows PC, vSphere, Hyper-V and File Server Backups. You also have the option to install Active Backup for G Suite and Active Backup for Microsoft 365. For this example, I will be running through a backup and restore of a VM from my VMware vSphere environment.

It supports vSphere version 5.0 through to 6.7 at this point in time. You will also need to ensure that TCP ports 443 and 902 are open between the Synology NAS and the vSphere environment.
Before you get started make sure that your DiskStation Manager (DSM) is at the latest version and the user you have logged in with belongs to the administrators group.
Launch Package Center which is located on the main desktop

Then locate Active Backup for Business and click Install

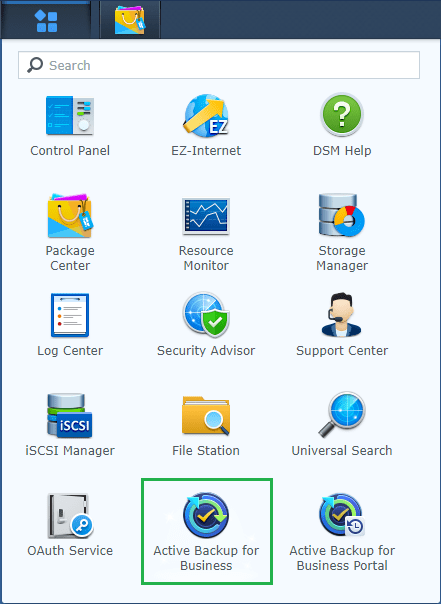
The software will then be downloaded and installed. It will then be available from the main menu.
Launch Active Backup for Business
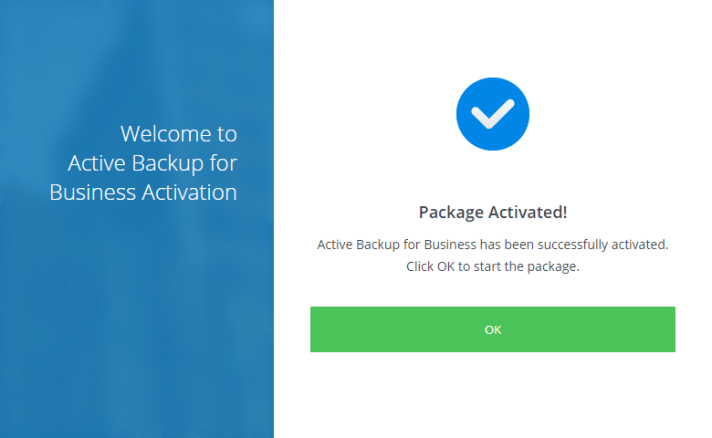
Select Activate to start the activation process. You will require your Synology account for this process.

Review and accept the privacy statement. Then click Next

Enter your Synology account details and click Activate

Once complete click Ok
You will then be ready to start configuring Active Backup for Business.

For this example I will be connecting to my vSphere environment. So click on Manage Hypervisor under the VMware vSphere tab.

Then click on Add

Enter your vCenter server Name or IP Address, then enter a username and password to connect.
Once complete click Apply

Accept the certificate request that appears and once connected close the Manage Hypervisor window.
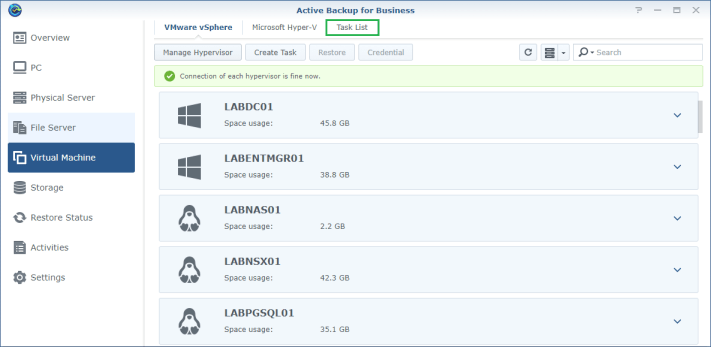
The Active Backup for Business window will now show the ESXi hosts and VMs which are currently connected to the vCenter Server.
Next up its time to create a backup task. Click on the Task List option.
Click on the Create drop-down menu and select vSphere task
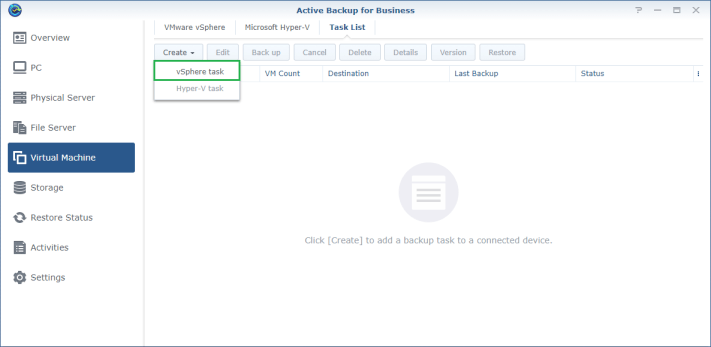
With the backup destination highlighted click Next
Note – The file system needs to be Btrfs

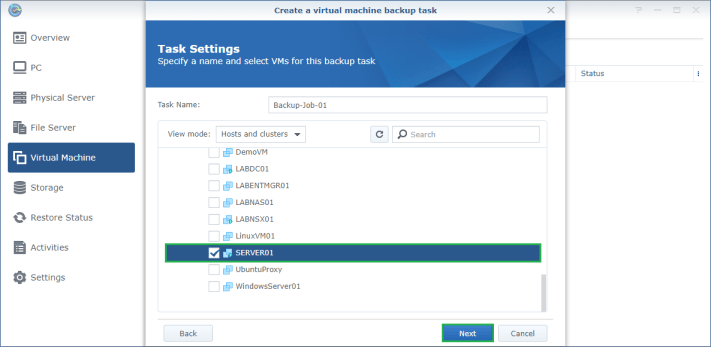
For the Task Name enter a name for the backup job. Then expand your cluster and select which VMs you would like to backup.
Then click Next.
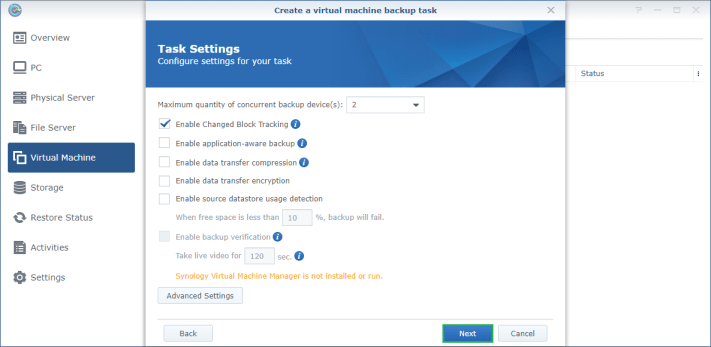
Once you are happy with the options you have selected click Next
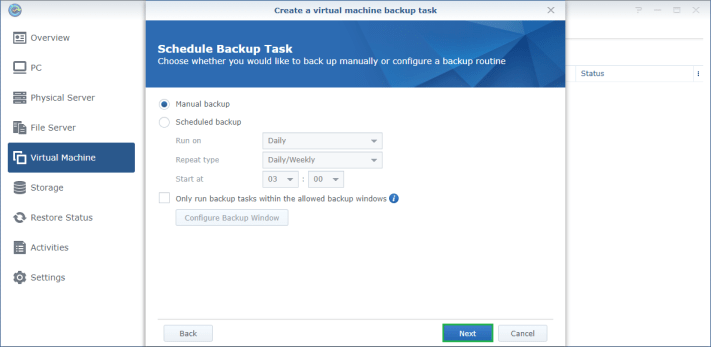
The next screen allows you to either perform a manual backup or configure your own backup schedule. For this example I am just going to create a Manual Backup.
Once complete click Next.
Next up are the retention policy settings. You can select to keep all version of your backups or create a policy that will keep all versions for the next 14 days as an example.
I am just going to select Keep all versions for this backup. Once you have made your selection click Next.

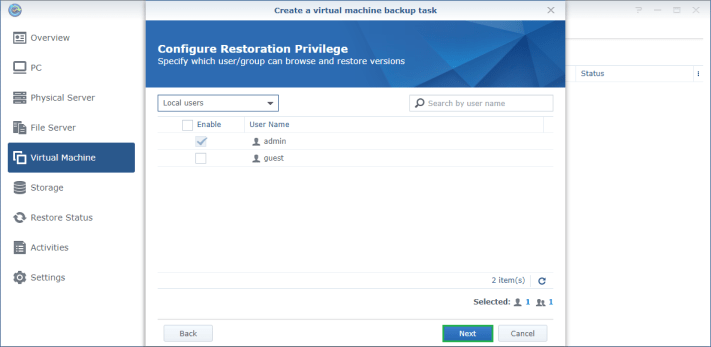
Then select which users you would like to grant restore privileges. I only have my base admin user created at this stage but it would be a good idea to create a specific restore user or group and then select it here.
Once you have made your selection click Next.
Review your settings and when you are ready click Apply.

As I selected a Manual Backup I was then prompted to run the backup now. For this example I will select Yes.

The backup has now started and can be monitored from the Task List.

The backup has now completed successfully.
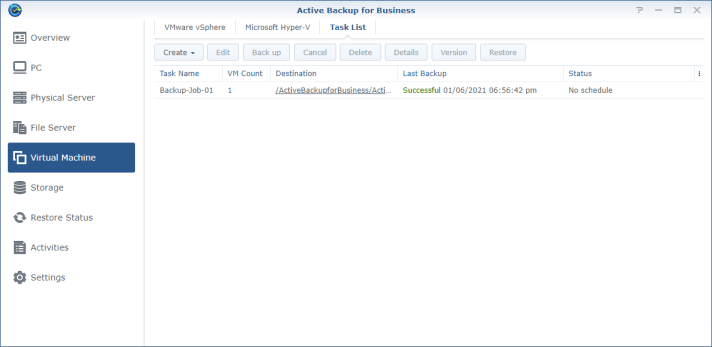
If you click on Details you will see more information about the job itself.

Now let’s run through a restore scenario. I could just restore the VM back to its original location in vCenter which would work perfectly fine, but I was keen to test a restore to Virtual Machine Manager on the Synology itself.
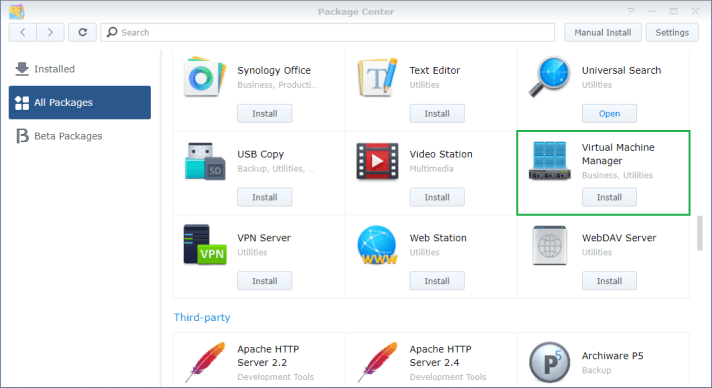
Before we start you need to have Virtual Machine Manager installed. To do this open Package Center and then scroll down until you locate Virtual Machine Manager. Then click Install and follow the prompts.
Once the installation is complete open Virtual Machine Manager and follow the wizard to complete the configuration. Also add in any networks that you may require for your newly restored VM from the Network tab in Virtual Machine Manager.
Now switch back over to Active Backup for Business, select Virtual Machine from the left hand menu and then select Task List to see the last backup job.
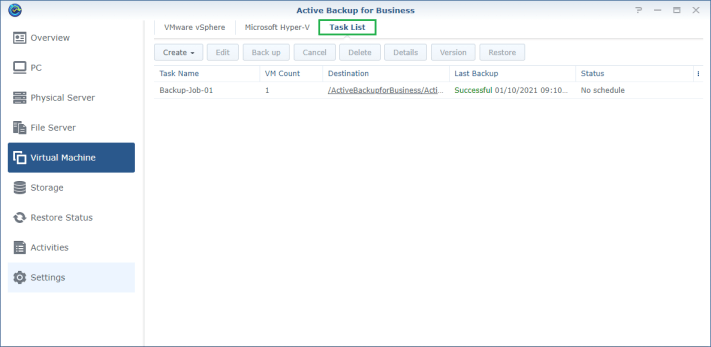
Highlight the Backup Task and click Restore

Next you need to select where you would like to restore the VM. Normally this would just be back to VMware vSphere but for this example I wanted to restore the VM to Virtual Machine Manager on the Synology itself.
Select Instant Restore to Synology Virtual Machine Manager, then click Next.

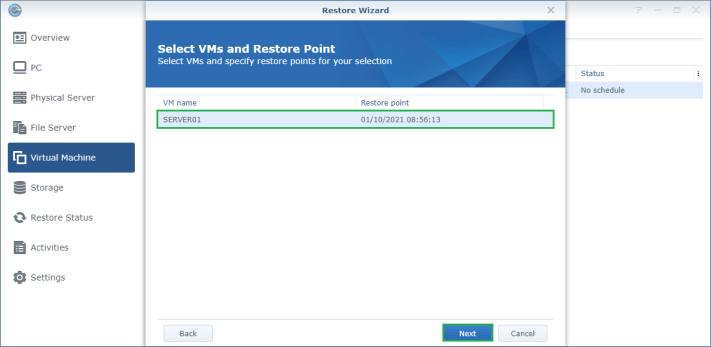
Select the restore point you would like to restore from and click Next.
Select the storage where the Virtual Machine will be stored and click Next.

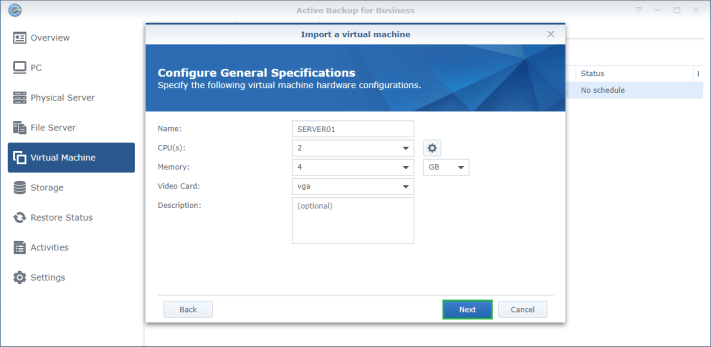
Check the hardware configuration and make any necessary changes and click Next.
On the Virtual Disk configuration page click Next.

On the network configuration page click Next.

You will then be prompted to download the Synology Guest Tool. This is the VMware Tools equivalent and will be mounted to the VM ready to install. Click on Download to continue.

Then click Next.

If you have a specific account that you would like to assign permission to interact with this VM, select it here and then click Next.

Once complete click Apply.

The Server will then be imported from the backup job and will display in Virtual Machine Manager.

From the Action drop-down menu you can make any changes you require to the VM prior to powering it on. For this example I have not make any changes to the VM.
With the virtual machine highlighted select Power On to start the VM.
Once the Status of the VM shows Running then the Connect button will no longer be greyed out.

Click on the Connect button to interact with the VM. The Virtual Machine will now power up ready for use in a new window.
Using the arrow tab on the left on screen you can send a ctrl + alt + del to the VM so that you will be able to login.

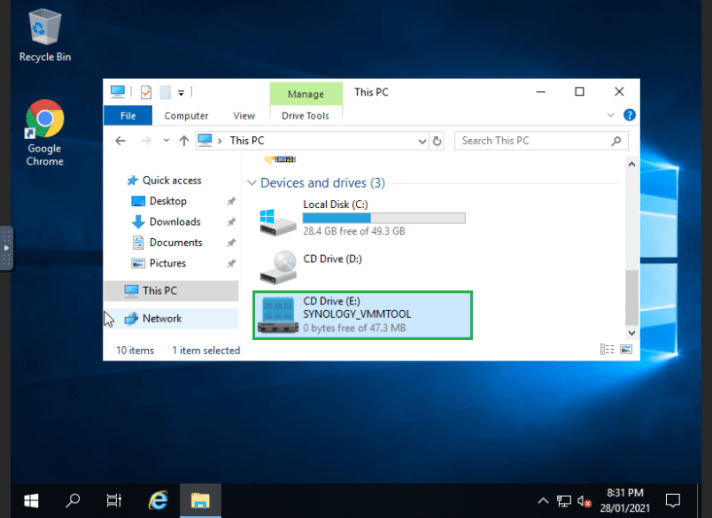
Once logged in you will see that the Synology Guest Tool ISO is mounted.
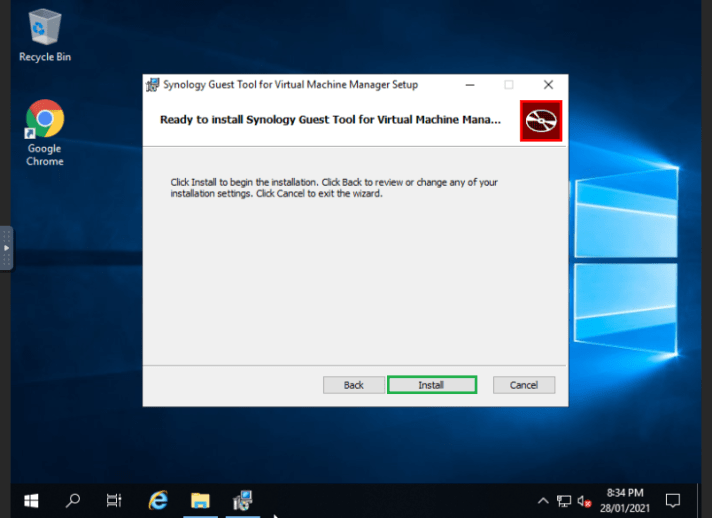
Launch the installer and click Next.

Accept the license agreement and click Next.

On the destination folder screen click Next.

Then click Install.
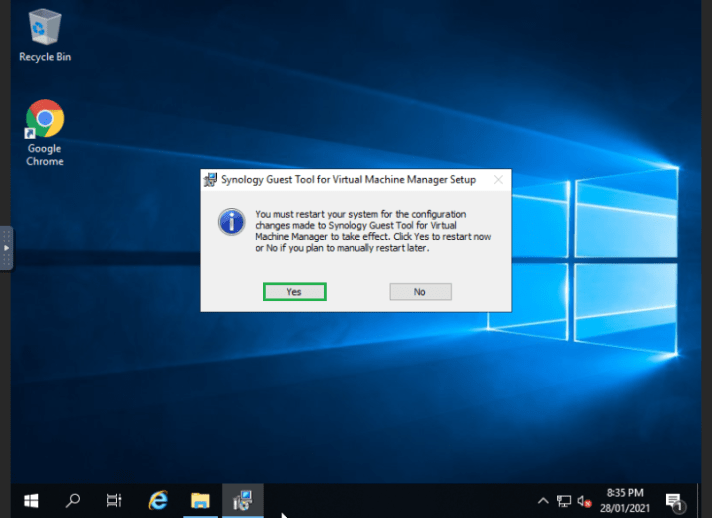
Once complete click Finish.

Then select Yes to restart the VM.
Once the VM has restarted log back in and you will be ready to use your newly restored Virtual Machine which is now running on your Synology.
That’s it from me, I hope this helps you get started with Active Backup for Business!
@steveonofaro
